Built for self-hosters who want to understand what's actually running — without shipping data anywhere.
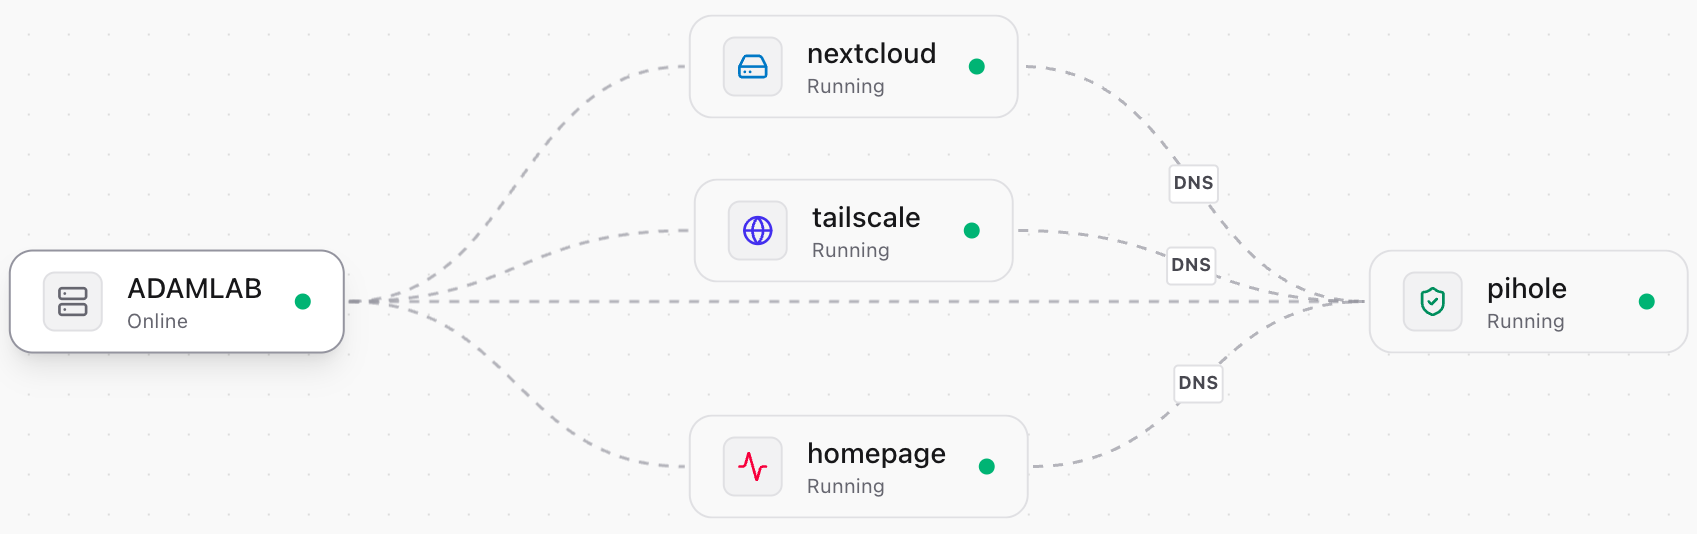
Auto-discovers Proxmox hosts, LXC containers, and VMs via the API and renders them as a live, interactive connected graph — updated in real time. No manual configuration.
Per-node CPU, RAM, disk, and network throughput streamed continuously — with hour / day / week trend charts from Proxmox RRD data.
Feeds live cluster state to an Ollama-powered chat. Ask about bottlenecks or service status in plain language.
Probes containers via SSH to identify running services — Docker, databases, web servers — without any agents installed.
Built with Tauri 2 — ships as a native app for macOS and Linux. No browser tab to lose, no port to remember.
Start, stop, reboot, and shut down any VM or container straight from the app — with inline confirmation before anything destructive.
Totals, aggregate CPU and memory meters, an attention list that surfaces offline or high-load nodes, and a live activity feed.
No telemetry, no SaaS, no cloud APIs. Everything runs on your own hardware and never leaves your homelab.
Real views from a live Proxmox homelab. Click image to zoom.
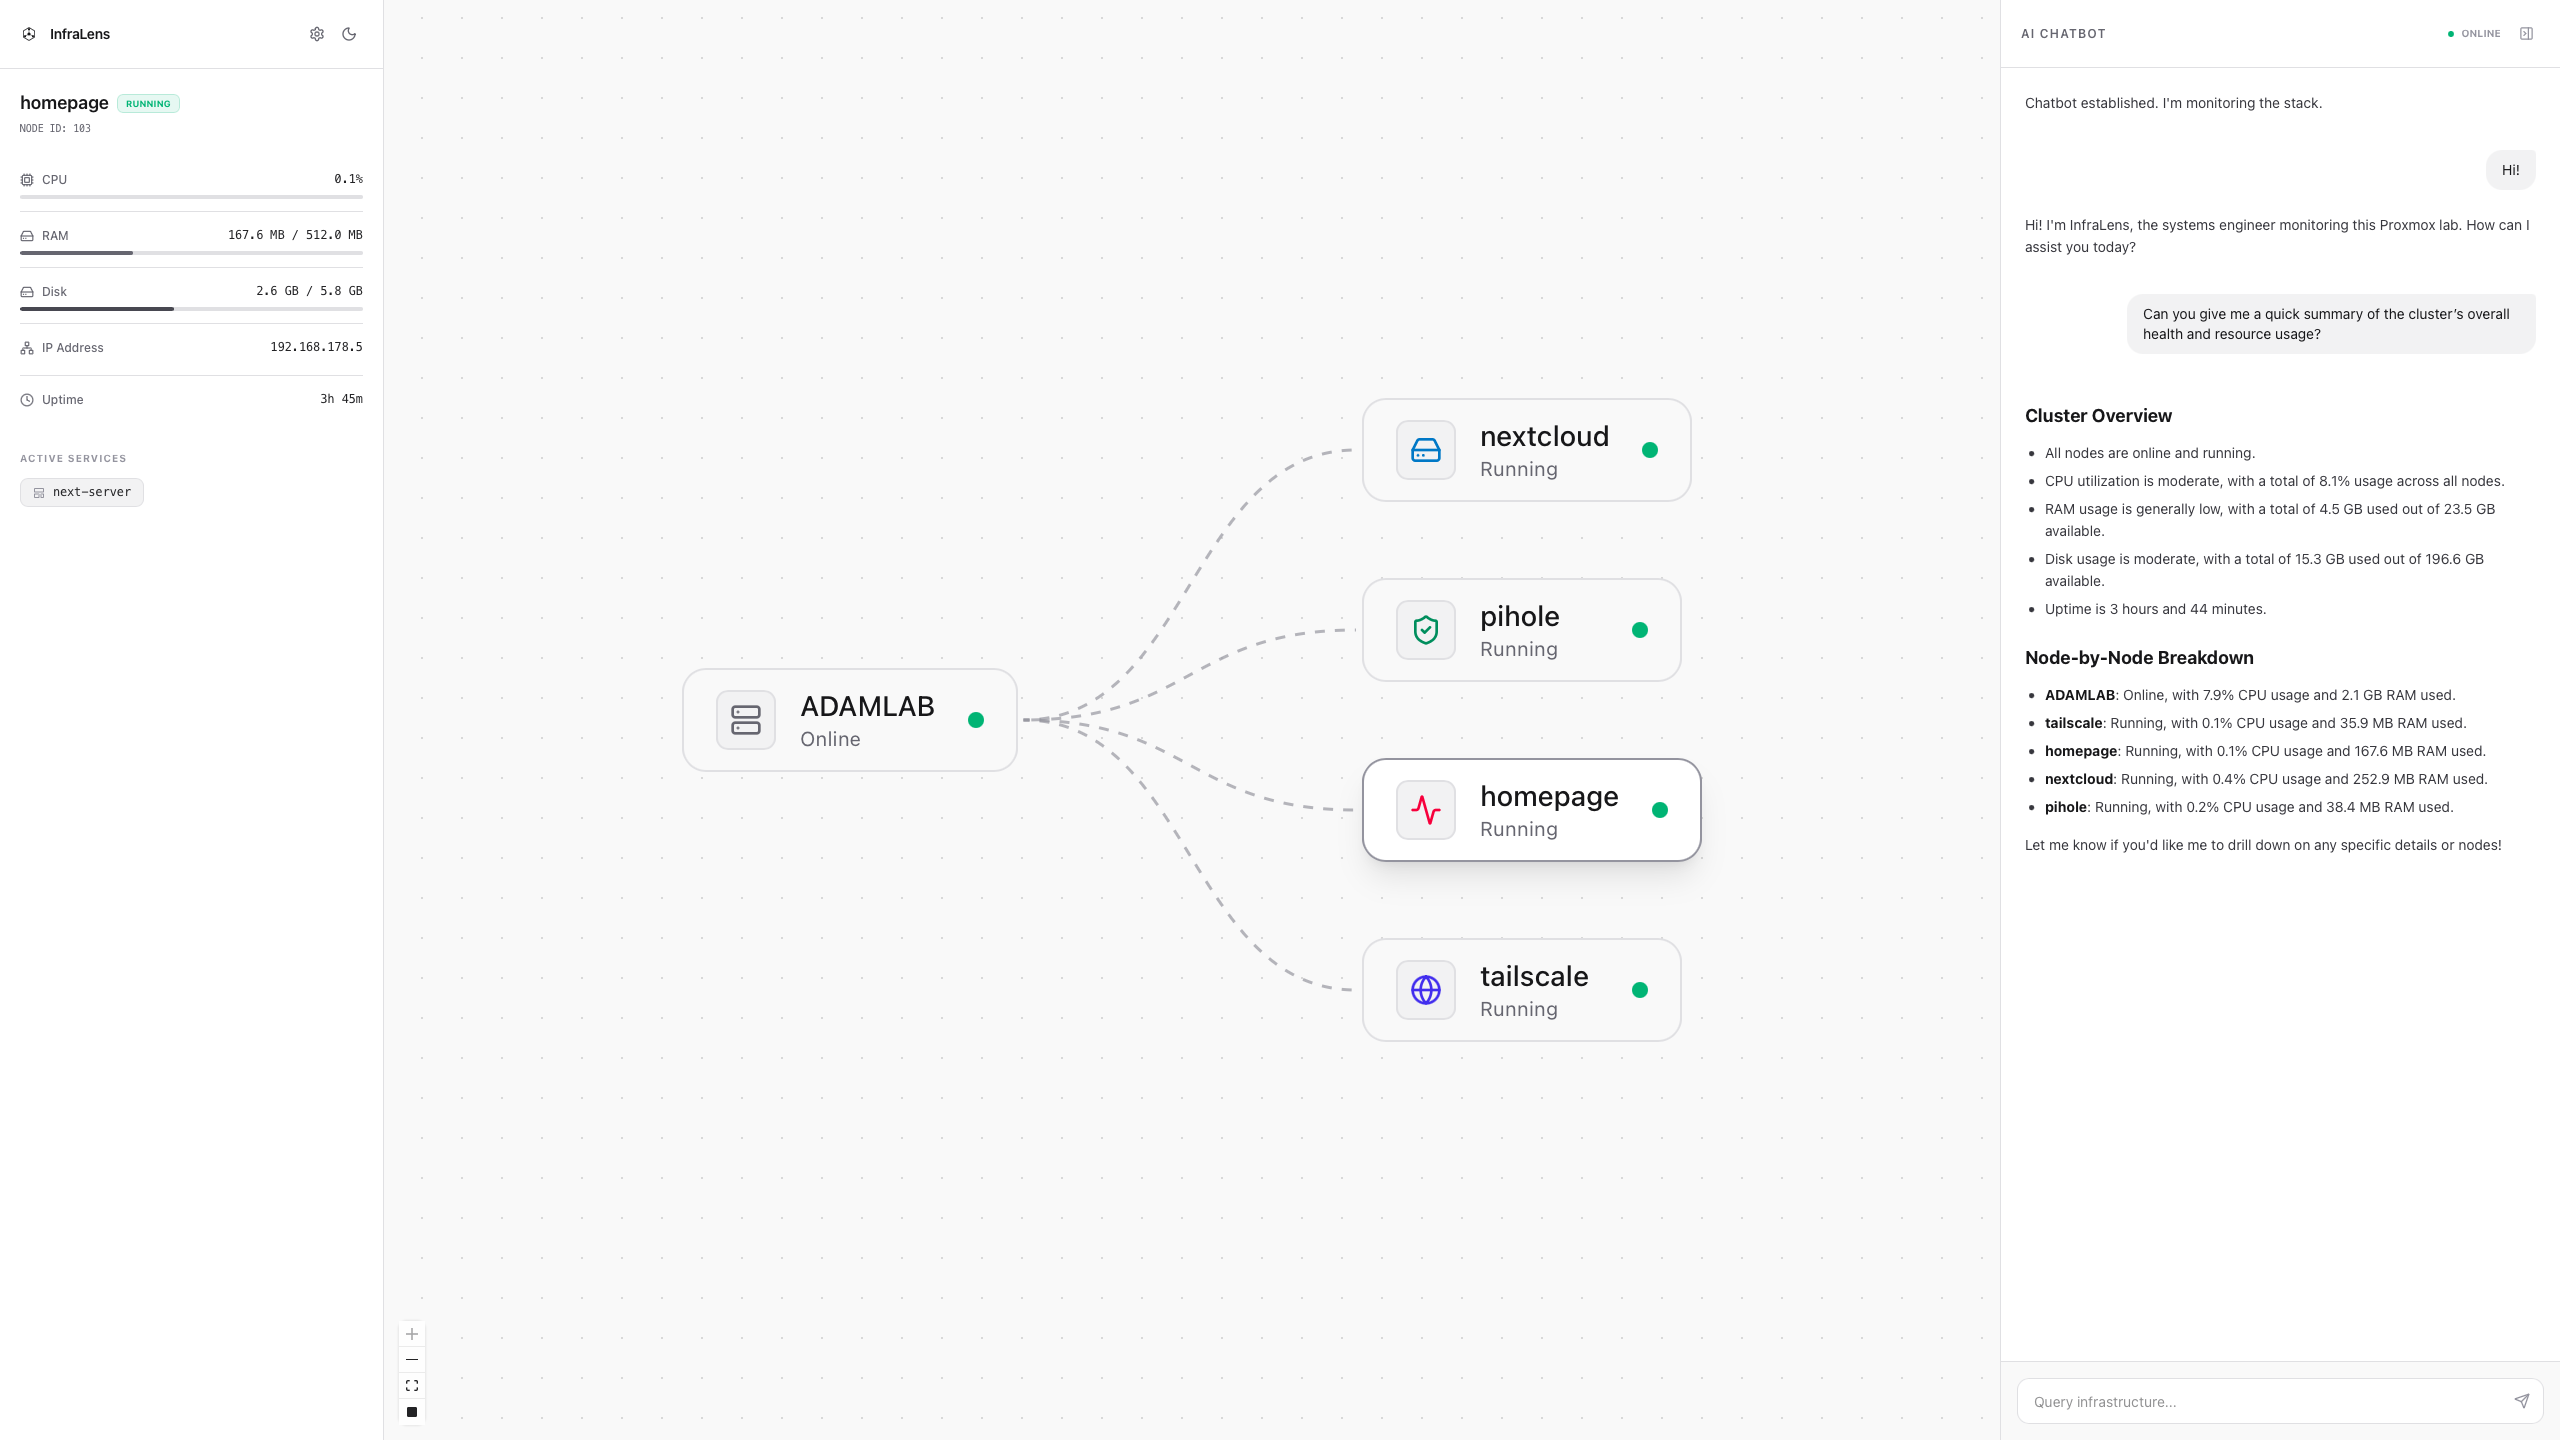
Ask about service status, bottlenecks, or resource usage in natural language — powered by a local Ollama model.
Connects to your existing Proxmox API — no agents, no changes to your setup.
Provide your Proxmox API token and host in the
.env
config. InfraLens discovers everything automatically.
Pull any supported model locally. InfraLens feeds it live cluster state as context — no internet required.
Start the backend, open the desktop app, and see your full infrastructure mapped live.
Native desktop app built with Tauri 2. Available for macOS and Linux.
xattr -cr /Applications/InfraLens.app# Clone the repo git clone https://github.com/AdamYahmadi/InfraLens.git cd InfraLens/backend # Set up environment python -m venv venv && source venv/bin/activate pip install -r requirements.txt # Configure — fill in your Proxmox API token + SSH creds cp .env.example .env # Run python main.py
cd InfraLens/frontend
npm install

# Create .env and point to your backend
VITE_API_URL="http://127.0.0.1:8000"

npm run dev
Browse the code, file a bug, or read the setup docs.